Wednesday, October 10, 2012

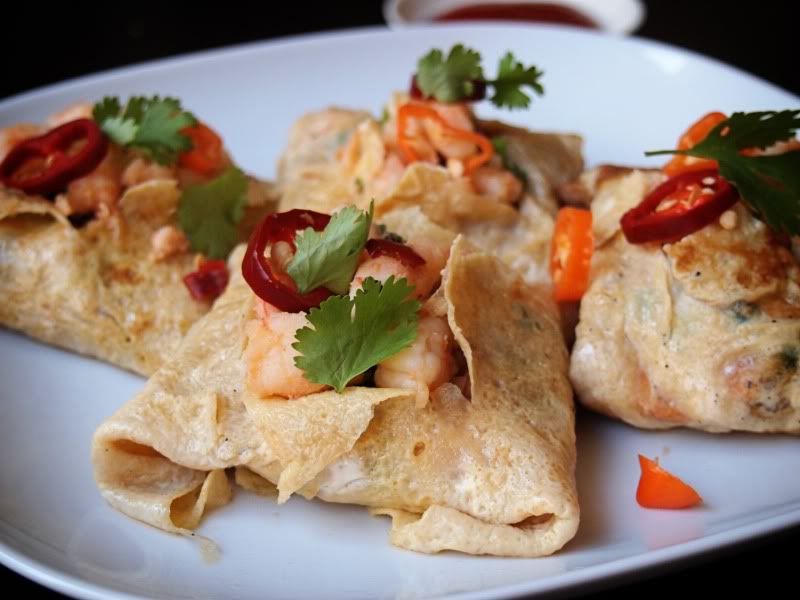
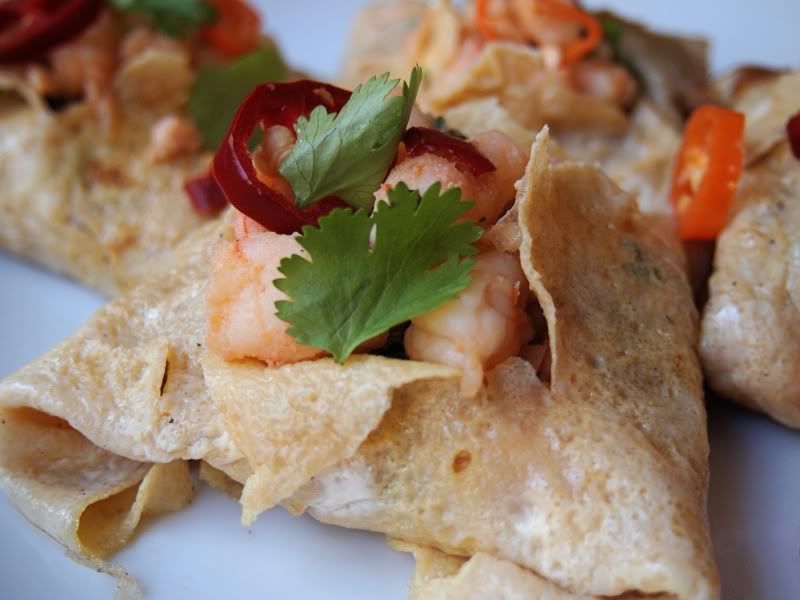
Stuffed Shrimp Omelets Recipe

Photobucket
-->


INGREDIENTS:
1 lb 2oz raw shrimp
1 ½ tablespoons oil
4 eggs, lightly beaten
2 tablespoons fish sauce
8 medium scallions, chopped
6 medium cilantro stems, chopped
2 medium garlic cloves, chopped
1 small red chili, seeded and chopped
2 teaspoons lime juice
2 teaspoons grated jiggery or unpacked brown sugar
3 tablespoons chopped cilantro leaves
1 small red chili, extra, chopped to garnish
Cilantro sprigs, to garnish
Sweet chili sauce, to serve


METHOD:
1)    Peel the shrimp. Gently pull out the dark vein from the back of each shrimp, starting from the head end, then chop the shrimp meat.
2)   Heat a wok over high heat, add 2 teaspoons of the oil and swirl to coat. Combine the egg with half of the fish sauce. Add 2 tablespoons of the mixture to the wok and swirl to a 6 ¼ inch round. Cook for 1 minute, then gently lift out. Repeat with the remaining egg mixture to make eight omelets.
3)   Heat the remaining oil in the wok. Add the shrimp, scallions, cilantro stem, garlic and chili. Stir-fry for 3-4 minutes, or until the shrimp are cooked. Stir in the lime juice, jiggery, cilantro leaves and the remaining fish sauce.
4)   Divide the shrimp mixture among the omelets and fold each into a small firm parcel. Cut a slit in the top and garnish with the chili and cilantro sprig. Serve with sweet chili sauce.
Photobucket

Wednesday, September 26, 2012

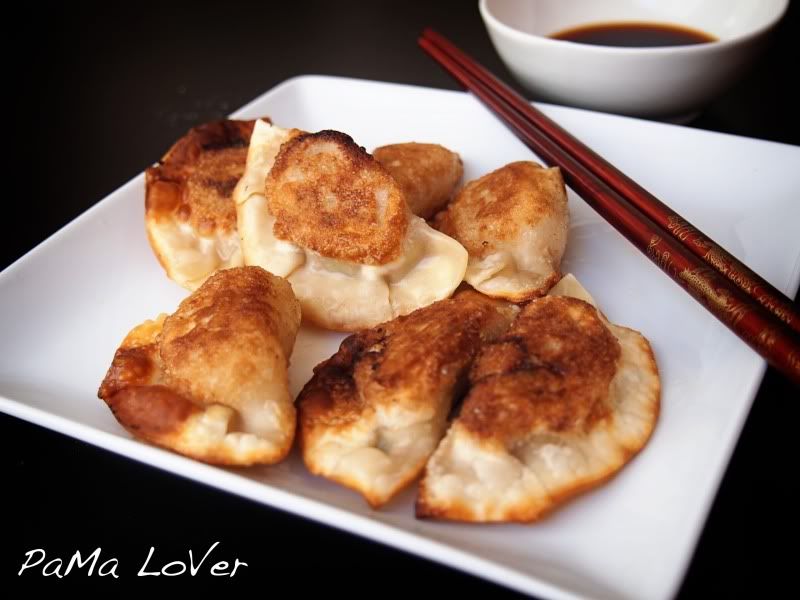
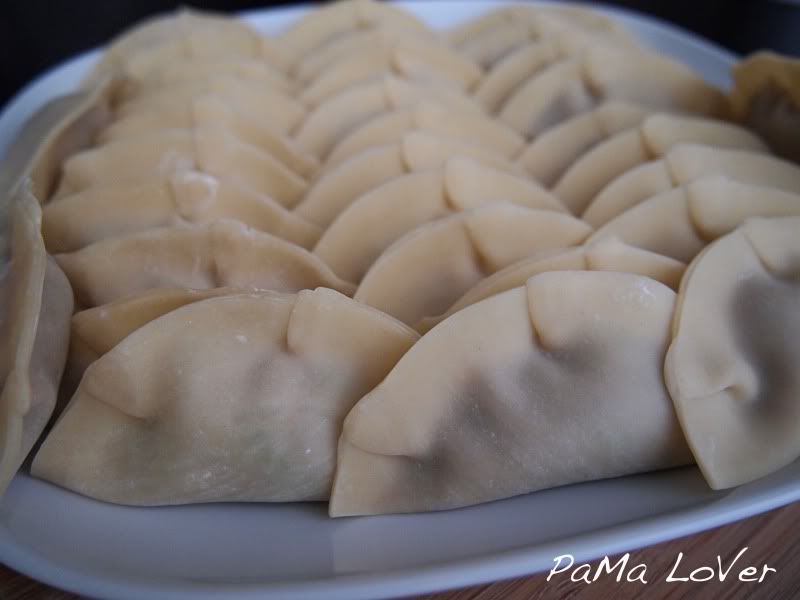
Pork & Cabbage Gyoza Recipe

Photobucket


Gyoza is one of my childhood favorites but my mom did a different shape out of it. She’s a working mom and she doesn’t need to make it pretty for us to eat.  Fast and simple equal YUM!! Dipping with my favorite sauce made my day. I’m a picky eater and I know my mom and grandma had a hard time cooking for us young ones, as we will just complain about eating the same old food.

These times around will be different. I can’t wait to go back and show them that I’m a good cook as well. I want to cook for them and let them enjoy. Hopefully, they don’t complain as what we did when we were younger.

Here’s a simple recipe to share with you guys. 


Photobucket  
 
-->
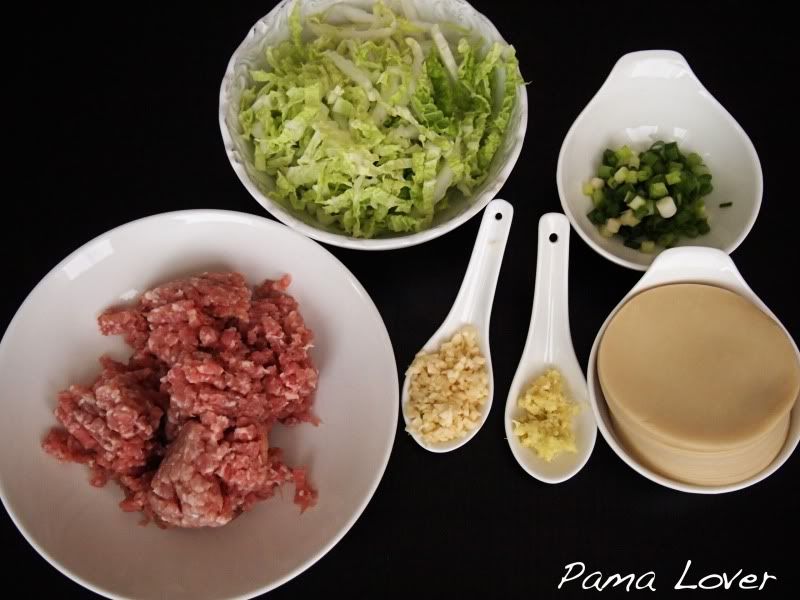
INGREDIENTS:
Gyoza wonton wrappers
2 tablespoons water for brushing
Oil, for pan-frying
2 tablespoons Japanese rice vinegar
2 tablespoons shoyu (Japanese soy sauce)

FILLING:
1 ½ cups finely shredded napa cabbage
2 scallions, finely chopped
4 oz/115 gram fresh ground pork
½ - inch / 1 cm piece fresh ginger, finely granted
2 garlic cloves, crushed
1 tablespoon shoyu (Japanese soy sauce)
2 teaspoons mirin
pinch of white pepper
salt, to taste


Photobucket
   
METHOD:
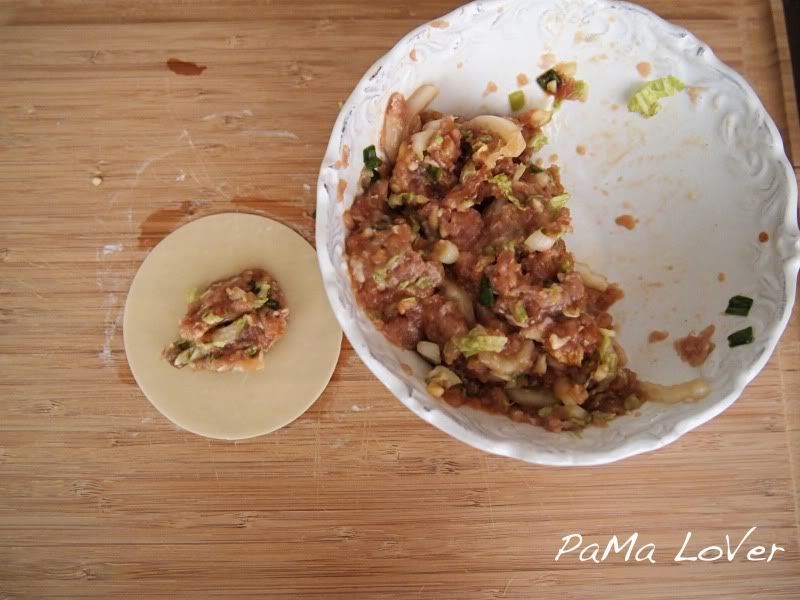
1)  To make the filling, mix all the ingredients together in a bowl.
2)  Lay a gyoza wonton wrapper in the palm of your hand and place 1 heaped teaspoon of the filling in the center. Brush a little water around the edges of the wonton wrapper.
3)  Fold the wrapper sides up to meet in a ridge along the center and press the edges together. Brush the curved edges of the wrapper with a little more water and make a series of little folds along the edges.
4)  Repeat with the remaining gyoza wonton wrappers and filling. Heat a little oil in a lidded deep skillet and add as many gyoza as will fill the bottom of the skillet with just a little space in between.
5)  Cook for 2 minutes, or until browned. Add water to a depth of 1/8 inch, cover the skillet and let simmer over a low heat for 6 minutes, or until the wrappers are translucent and cooked. Remove and keep warm while you cook the remaining qyoza.
6)  Put the vinegar in a small dipping dish, stir in the shoyu, and add a splash of water.
7)  Transfer the gyoza to a serving dish and serve with the sauce for dipping.


Photobucket

Wednesday, September 19, 2012

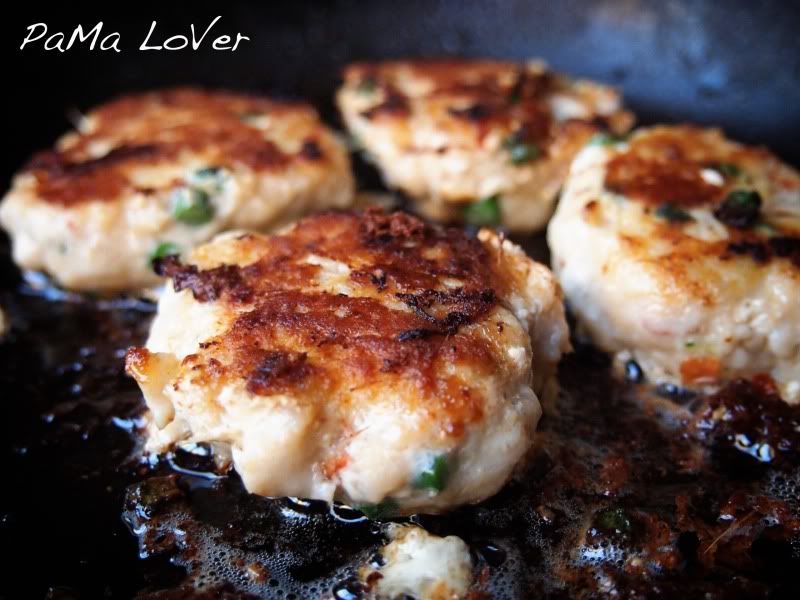
Pan-Fried Fishcakes with Green Beans Recipe

Photobucket 


Fishy! Fishy! Yes, I love FISH! One of my favorite and I can eat fish everyday without getting bored of it. Maybe because someone told me when I was a child that fish makes you younger and smarter. And I don’t have both of the above. Hmm….. Maybe I ate the wrong fishes.

Thai fishcakes are one of my favorites and I loved to order them every times I saw them on the menu. It just so delicious, that I’ve decided to make them myself. A little different but I’m happy for what I can get. You know, chef or cook don’t share their secret recipe but I do. Ha ha ha ha……….

INGREDIENTS:
1 lb white fish fillet, skinned, cleaned, and roughly chopped
1 tablespoon fish sauce
1 ½ tablespoon cornstarch
1 egg
2 oz green beans, finely sliced
5 kaffir lime leaves, finely sliced
sunflower oil for frying
Photobucket
-->

CHILI PASTE:
2 dried long red chilies, each about 5 inches long
1 lemongrass stalk (white part only), 3-inches long, finely sliced
3 garlic cloves, roughly chopped
2 shallots, roughly chopped
2 cilantro roots, cleaned and finely chopped

Photobucket
-->

METHOD:
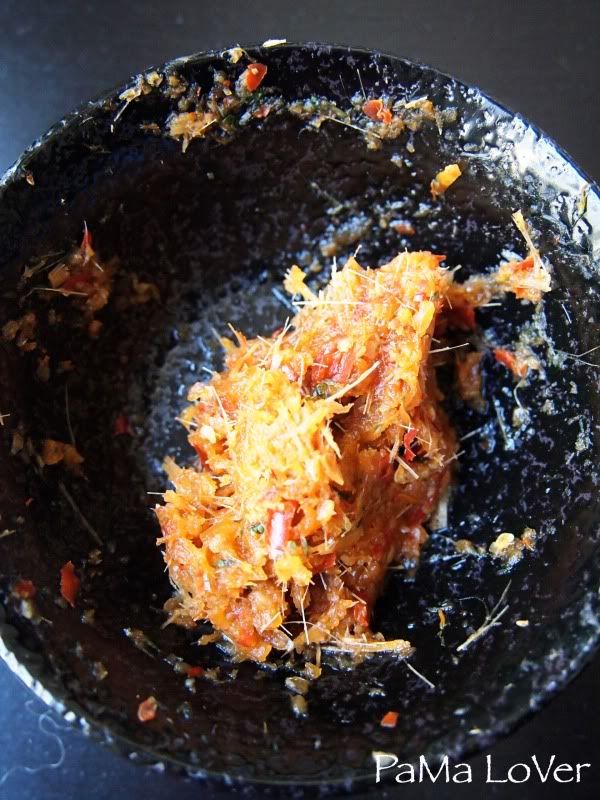
1)     Make the chili paste. Remove the stems & slit the chilies lengthwise. Discard the seeds. Roughly chop the flesh, soak it in hot water for 2 minutes or until soft, then drain.
2)    Use a mortar & pestle to pound the chilies, lemongrass, garlic, shallots, and cilantro roots until the mixture forms a smooth paste.
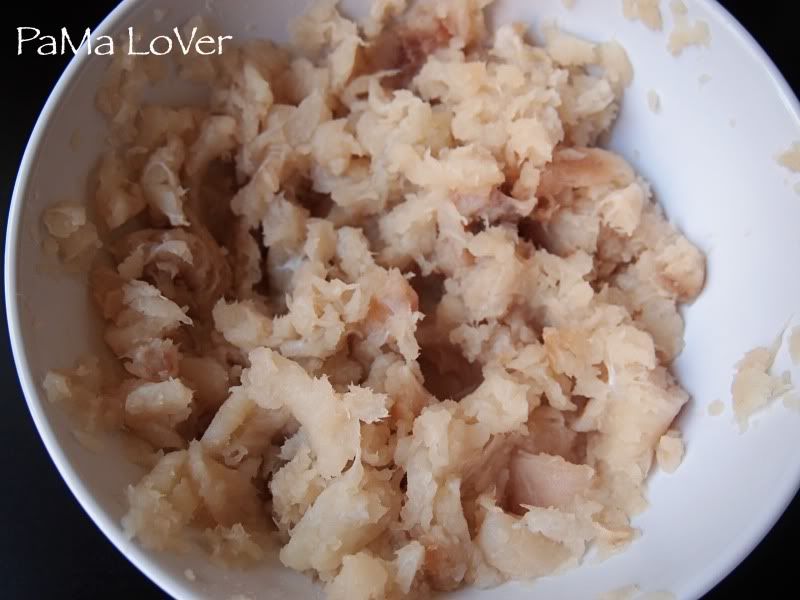
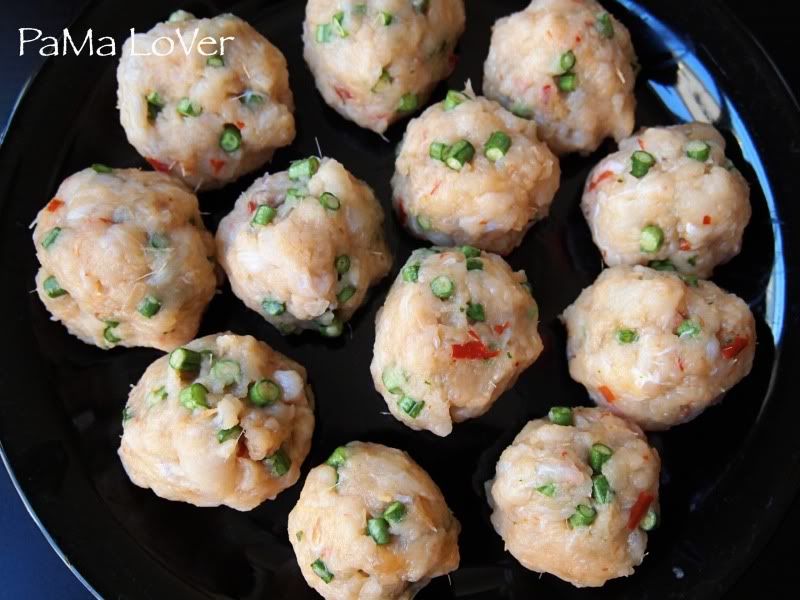
3)    Use a food processor or a blender to mince the fish fillets. Add the chili paste, fish sauce, cornstarch and egg and blend briefly until smooth. Spoon the mixture into a bowl and mix with the green beans and kaffir lime leaves.
4)    Use a tablespoon or damp hands to shape the fish mixture into thin, flat cakes, 2 inches across.
5)    Heat a little sunflower oil in a nonstick skillet [add a little oil to the pan before cooking each batch] and gently fry 8-10 fishcakes at a time (depending on the size of your skillet), making sure there is a slight gap between each one. Fry for 2-3 minutes on each side or until cooked and lightly browned.

Photobucket

Wednesday, September 5, 2012

Honey & Lemon Marinated Chicken Recipe

Photobucket

 
I grew up loving eating fried chicken wings. That’s what my mom cooked for us to make sure we eat the whole bowl of rice. Dipping with my favorite chili sauce just make it prefect. Sometimes, we just took it for granted and complained about eating the same dish all the time until I started cooking and realized; it’s never an easy job because everyday you just have to keep on thinking what to cook and of course to make everyone happy. Of course, I don’t have kids to deal with yet and taking the full advantage to eat whatever we feels like. Hubby not a picky eater but does not mean we can always have a college food all the time. A good fulfilling meal is a must when you’re working hard at work.

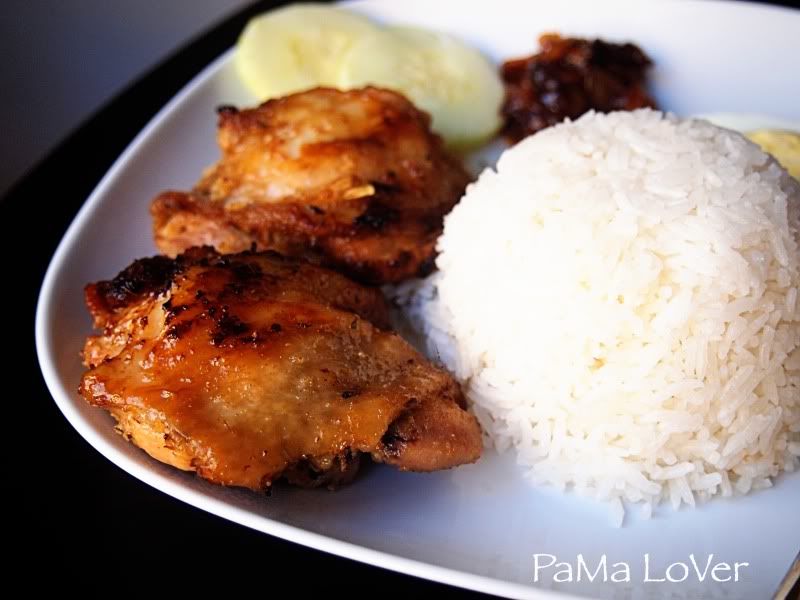
Today, I’m going to share with you my most popular or favorite dish from my home. Honey & Lemon chicken which I found this recipe 6 years ago and still cooking it every time I made “Nasi Lemak” for dinner. I remember the reason why I made this chicken back then was because I have no idea how to make curry. You can laugh at me. Trust me…. 6-7 years ago, I don’t even know how to cook but you’re learn when want to save some mullah especially in America, everything need to be tax plus tip for the server. Saving some cash does make a lot of different when you try to reach your dream. Okay…. Back on track. I was giving this chicken a try and figure if it taste good with the “sambal” & coconut rice. To my and hubby surprised, it did taste delicious to our liking and from that day onward, this chicken recipe have been following us every times we’re having nasi lemak. Trust me, I do crave for this chicken.


INGREDIENTS:
4 – 5 bone-in chicken tights
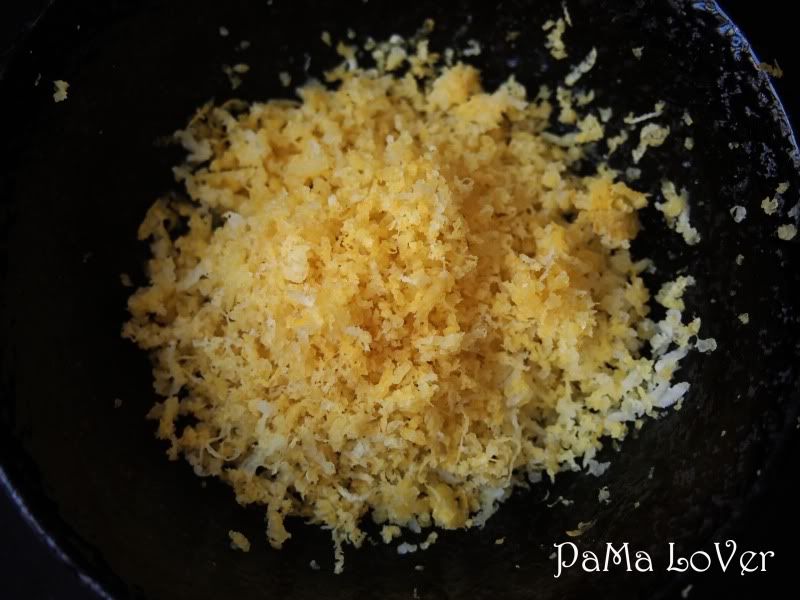
Juice & Zest of 1 large lemon
3 tablespoons honey
2 teaspoons finely chopped garlic
1 1/2 teaspoons ground cumin
1 teaspoon dried oregano
½ cup plus 2 tablespoons extra virgin olive oil
salt & ground pepper


Photobucket 
Lemon Zest

METHOD:
1)     Preheat the over to 400F.
2)    In a medium bowl, whisk together the lemon juice and zest, honey, garlic, cumin, oregano and ½ cup of the olive oil.
3)    Place the chicken tights in a glass dish that holds them snugly in a single layer and add the marinade. Cover and marinate for at least 30 minutes or up to 2 hours in the refrigerator. (turn chicken occasionally)
4)    Heat the remaining 2 tablespoons of olive oil in a large skillet over medium-low heat. Pat the chicken dry, and season with salt & pepper and place, skin side down, in the skillet.
5)    Cook until the skin is browned and crisp. About 5 minutes.
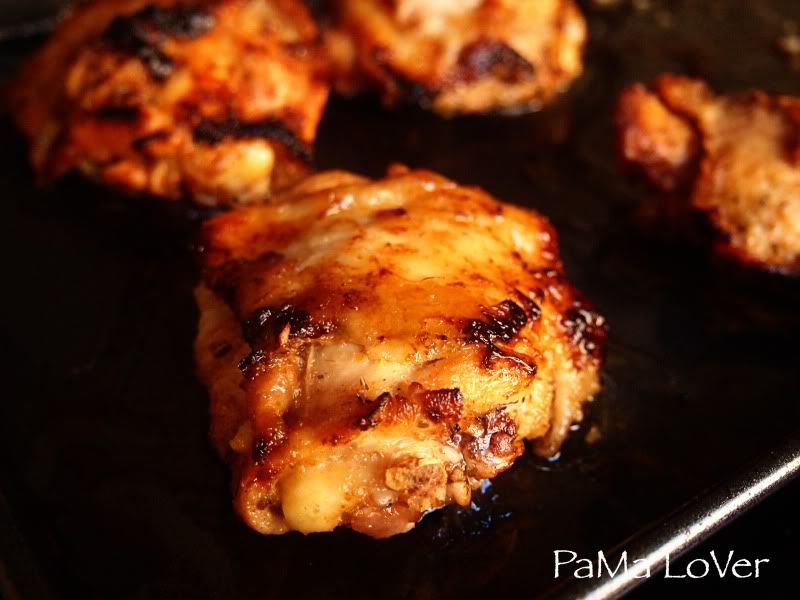
6)    Transfer the chicken, skin side up, to the prepared baking sheet.
7)    Bake about 20 minutes or until cooked through.


Photobucket

Tuesday, August 28, 2012

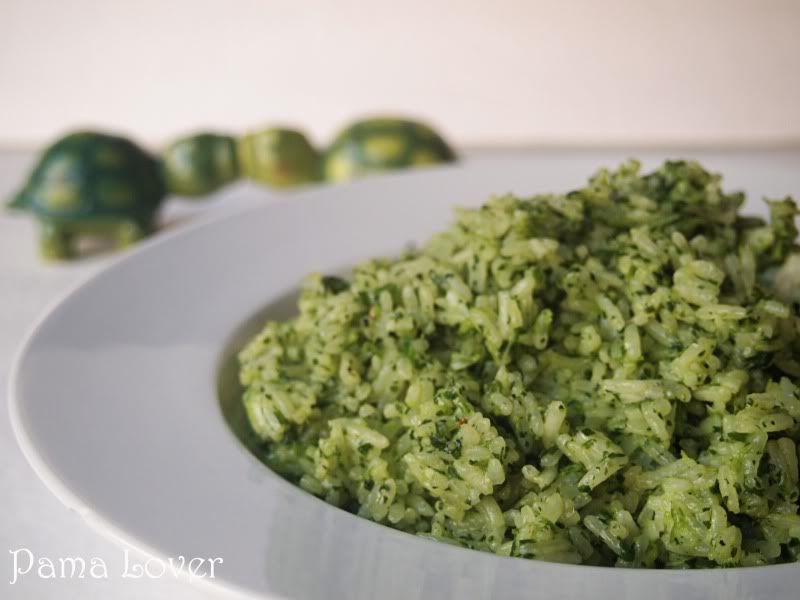
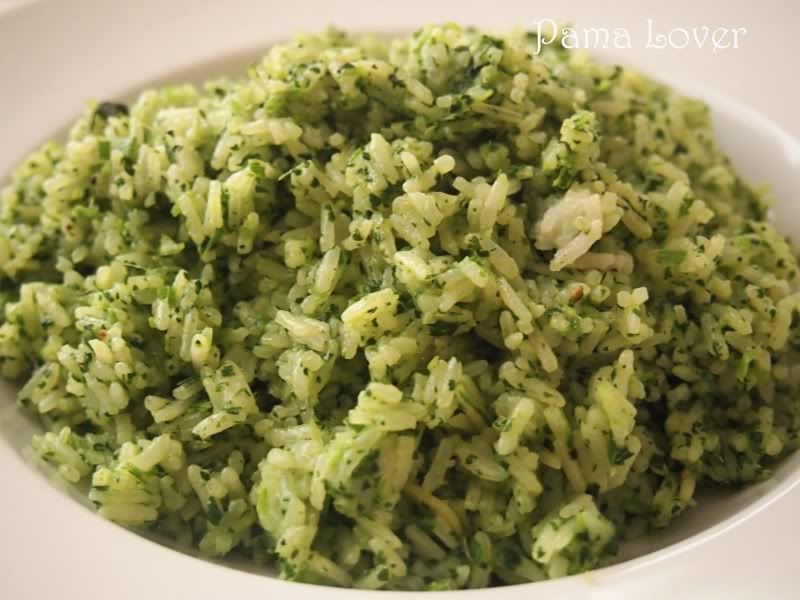
Ginger - Cilantro Rice Recipe


-->
Cilantro is one of my favorite herbs and I used them religiously. From Chinese cuisine to American cuisine. You will never go wrong with it. Today, I decided to share with you one of my favorite dish. If you love Chicken rice or Hainan chicken, you definely love this dish because it’s totally taste like chicken rice. You must be wondering why would you want to give it a try when you can just make chicken rice itself. Well, I thought the same but when you have bunch of cilantro left in the fridge and let it sit there and turned rotten. Why not use it to good! It’s basically like a coloring on your rice but this is natural coloring. Besides, it’s can light up your dinner plate instead the same old white color. Don’t you think? It’s really good for BBQ potluck as well. Since I figure how to use my cilantro, I want to let you know as well. Give it a try and hopefully, I get to hear your comments back


INGREDIENTS:
1 cup long-grain white rice
2 1-inch-long pieces fresh ginger [peeled, each cut into 4 rounds, plus 1 teaspoon minced peeled fresh ginger]
1 2/3 cups low-sodium chicken broth
1 1/3 cups chopped fresh cilantro
1 scallion, thinly sliced
3 tablespoons vegetable oil
1 tablespoon Asian sesame oil
1 teaspoon unseasoned rice vinegar [more if desired]


METHOD:
1)   Combine rice & ginger rounds together in a large saucepan. Add broth. Sprinkle with salt.
2)   Bring to boil, stir occasionally. Cover. Reduce to low heat and simmer until rice is tender & broth is absorbed, about 20 minutes.
3)   Meanwhile, combine chopped cilantro, green onion and minced ginger in processor. Add vegetable & Asian sesame oil and 1 teaspoon vinegar. Blend until almost smooth. Season cilantro oil to taste with salt, pepper. (add more vinegar if desired).
4)   Transfer rice to bowl and mix in cilantro oil and serve.

p/s: remove ginger rounds if desired.

Tuesday, August 14, 2012

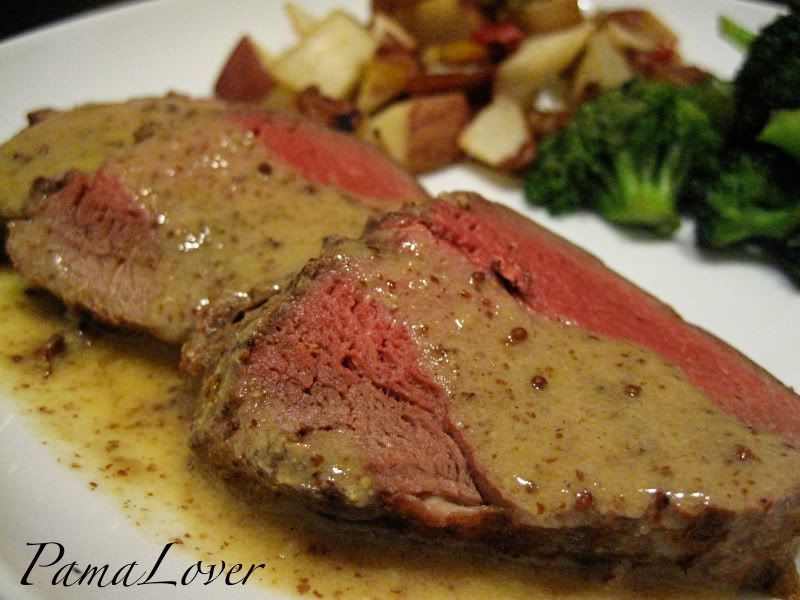
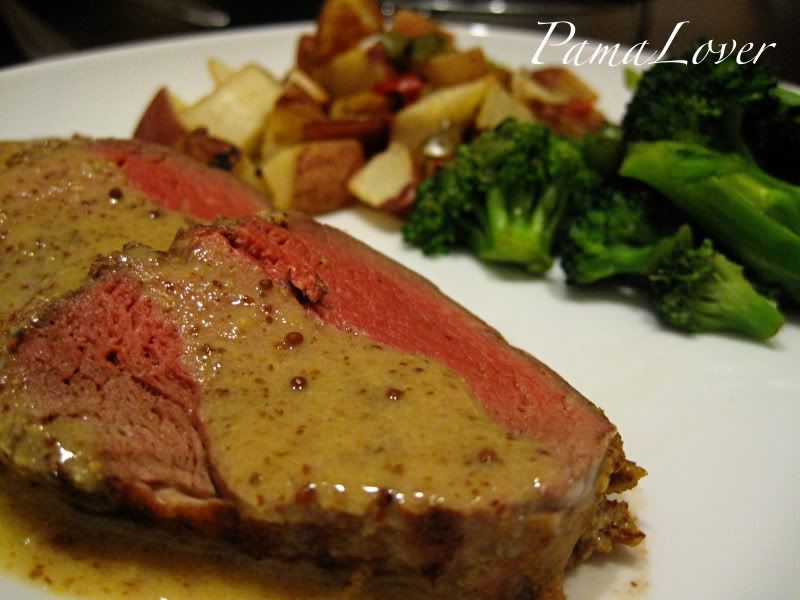
Roast Sirloin with Mustard Sauce Recipe


When life is busy with out daily routine, we all looking for a good meal to reward ourselves. But in times, we just so tired and all we want is something simple. That’s what happened to me everyday. I ended up eating out almost everyday and sometimes I don’t even know what I want to eat anymore.

This time, I finally found a spare time on the weekend. Weekends where I have nothing to do but stayed home and relax and of course decided to cook. Something I’ve been missed for a long long long time. Started looking the fridge and found a piece of sirloin and realized that I supposed to cook it. Thank god most of the ingredients I had it in my pantry.

And I’m happy to share these recipe with you guys.


Photobucket


Roast Sirloin with Mustard Sauce

Ingredients:
3 lb 5 oz beef sirloin
1/3 cup wholegrain mustard
1 tablespoon Dijon mustard
1 teaspoon honey
1 medium garlic clove, crushed
1 tablespoon oil

Mustard Sauce:
1 cup white wine
1 tablespoon Dijon mustard
¼ cup wholegrain mustard
2 tablespoons honey
¾ cup cubed chilled butter


Method:
1)     Preheat the oven to 425F. Cut most of the fat from the piece of beef sirloin, leaving a thin layer. Mix together the mustards and add the honey and garlic. Spread over the sirloin in a thick layer. Place the oil in an ovenproof dish and heat in the oven for 2 minutes. Place the meat in the hot dish and roast for 15 minutes. Reduce the oven the 400F and cook for 45-50 minutes for medium-rare, or until cooked to your liking.
2)    To make the sauce, pour the wine into a saucepan and cook over high heat for 5 minutes, or until reduced by half. Add the mustards and honey. Reduce the heat and whisk in the butter. Remove from the heat and season. Serve thin slices of the meat with the sauce and roast vegetables.

Thursday, July 12, 2012

Alexander Steak House


It been awhile I’m away from the blogging world and I do miss the time where I spent hours of hours blogging on what I love. For those of you wondering where I’ve been? I’m lost in this busy world but I’m glad I’m taking my breath and starting writing this entry.

Last month was my BIG birthday and YES! I’m 30 now. Unbelievable because deep inside of me, I’m still thinking I’m 21. OMG!! How time flies. I’m not sure how you guys felt about being 30 but I do feel good about myself. Being 30 makes me miss my mom a lot. How I was treated as a child and those good memories just popping in my head. I do wish I can turn back times and be the sweetest girl ever. I miss bring my mama’s princess.  

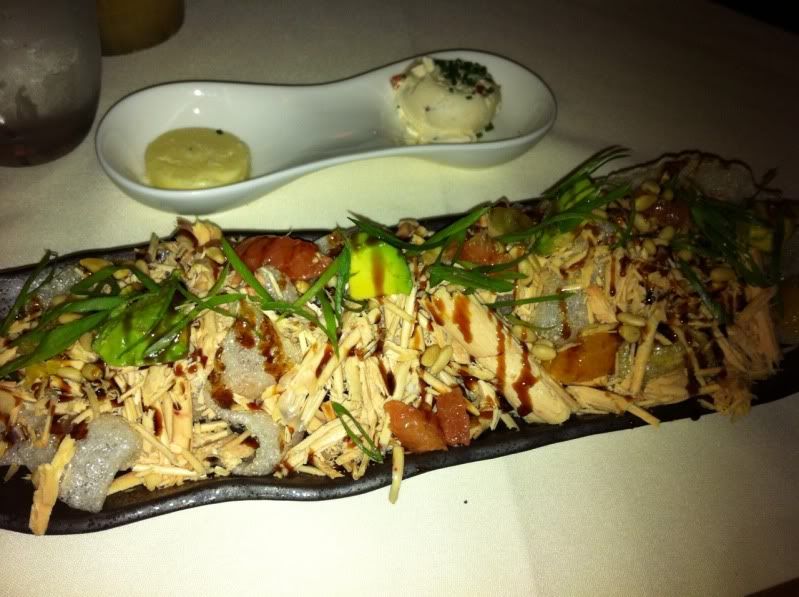
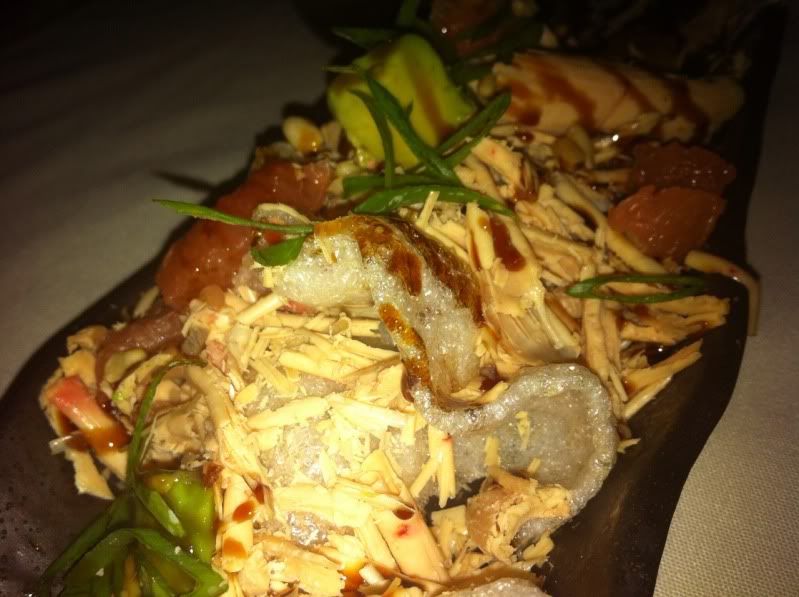
Whether I’m mama’s princess or not? I know Calvin gonna make me one and of course, he treated me to a nice and simple dinner at Alexander steak house. Now a WOW! But happy to get some steaks. I love the servers over there. They so over friendly and I love it how they introduce or recommend on things we would love to try. Food was great! I knew the review is 50/50. But based on my experience, I do love the food especially the shredded foie gras. I was amazingly good. Who actually thought of it and put it on a chip. Talking of chips!! They served Calvin most loved chips. And you can see him whole night smiling and smiling and talking about how great the foie gras taco. He been talking for days about it and to every since one of our friends.   

Uploaded from the Photobucket iPhone App
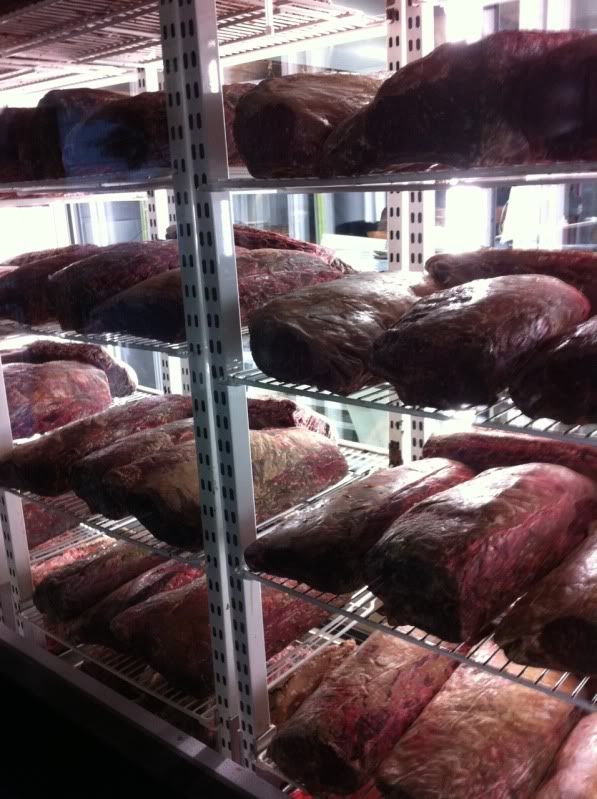
Once you walked in from the entrance, you will see those meat on your left.

Uploaded from the Photobucket iPhone App
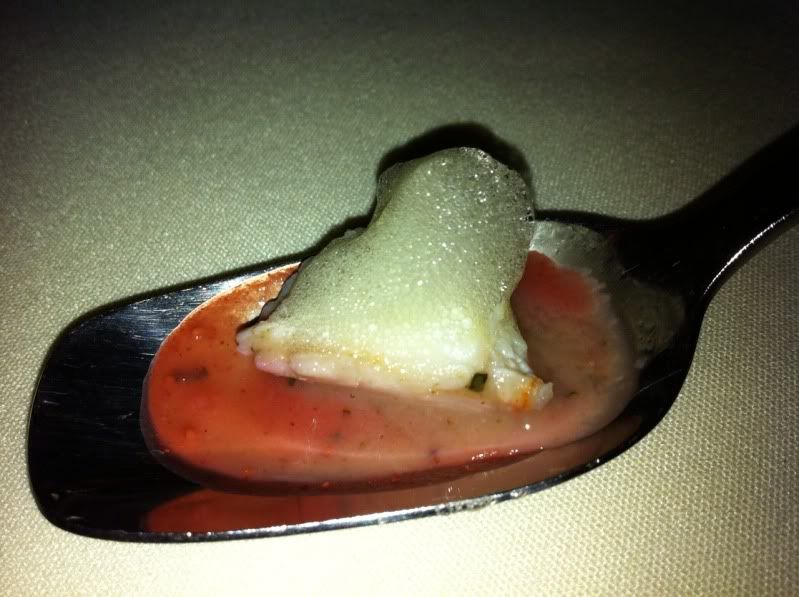
1)      This is a complimentary from the chef. I can’t really remember what it was but I’m 100% sure it’s a crab. LOL!!
Uploaded from the Photobucket iPhone App
2)      This is the one I’ve been talking about. Foie gras taco.
Uploaded from the Photobucket iPhone App
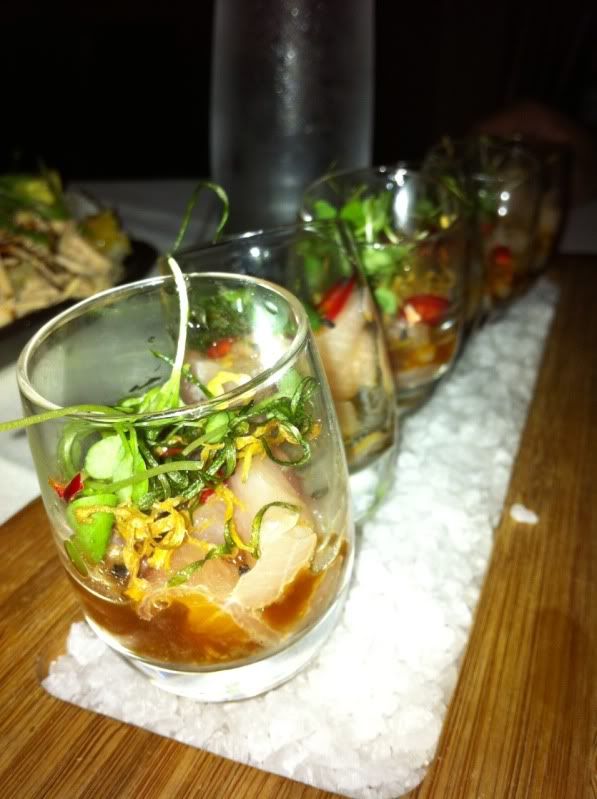
3)      Hamachi shots!! YOMO!! One of my favorite of the night.
Uploaded from the Photobucket iPhone App
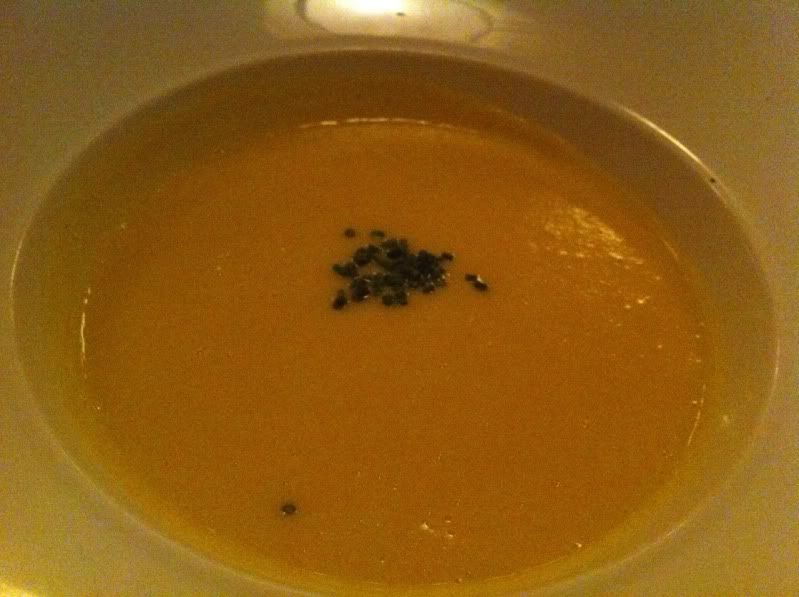
4)      Creamy Corn Soup
Uploaded from the Photobucket iPhone App
5)      Can’t remember
Uploaded from the Photobucket iPhone App
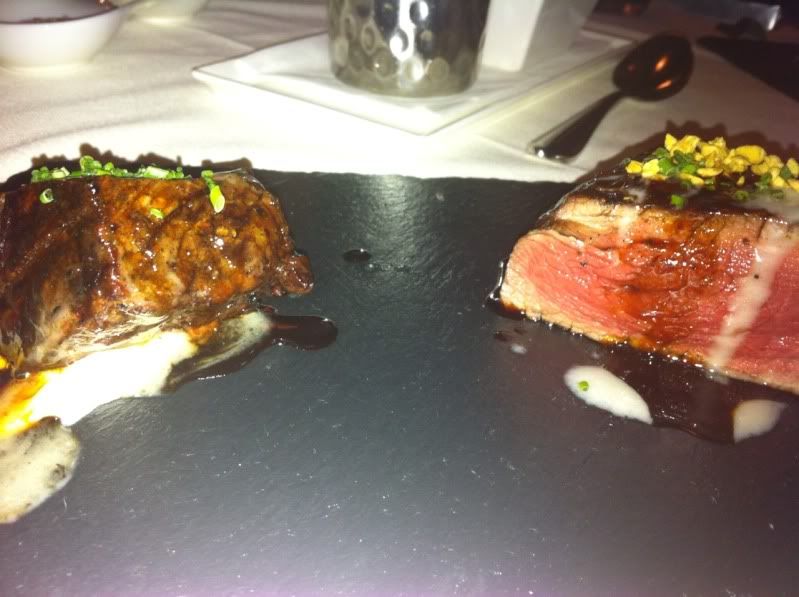
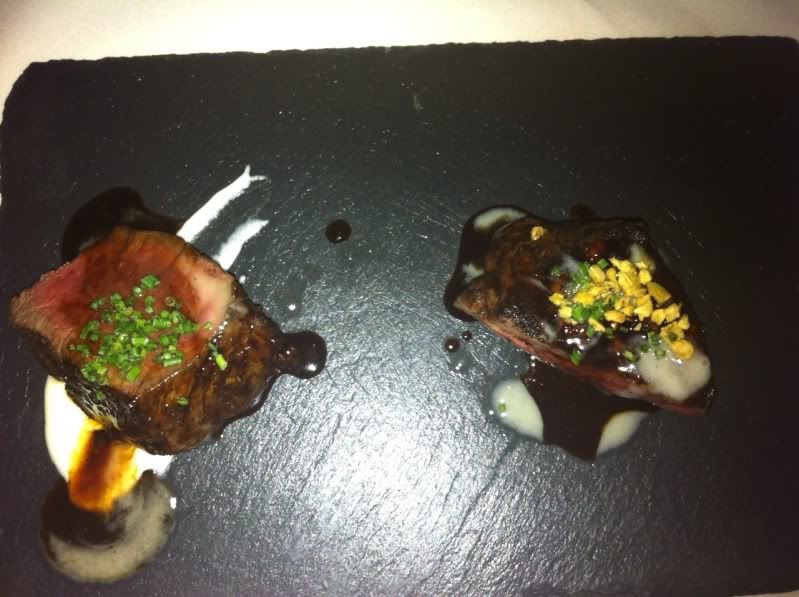
6)      Steaks! On the left is my order, Australian Waygu. It cost us over hundreds for that steak. Thank you, honey!! And on the right is American filet Mignon
Uploaded from the Photobucket iPhone App
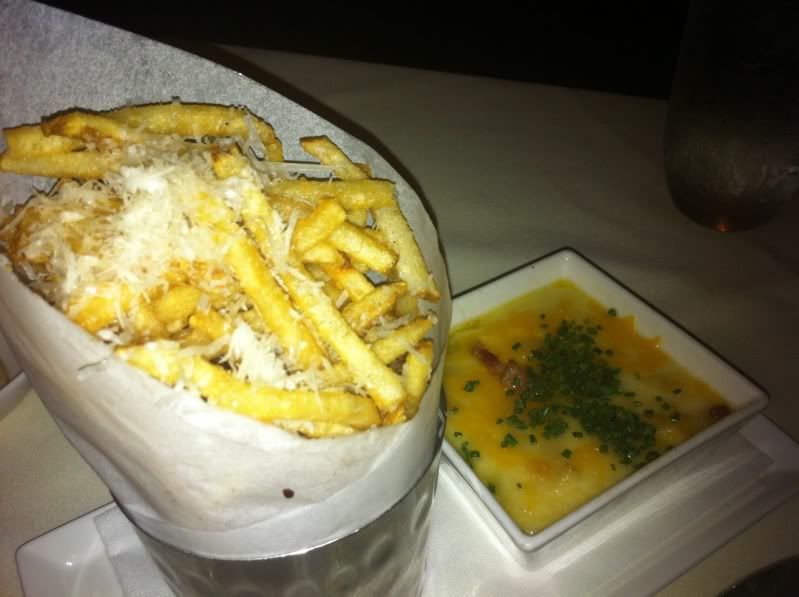
7)      Truffles fried
Uploaded from the Photobucket iPhone App
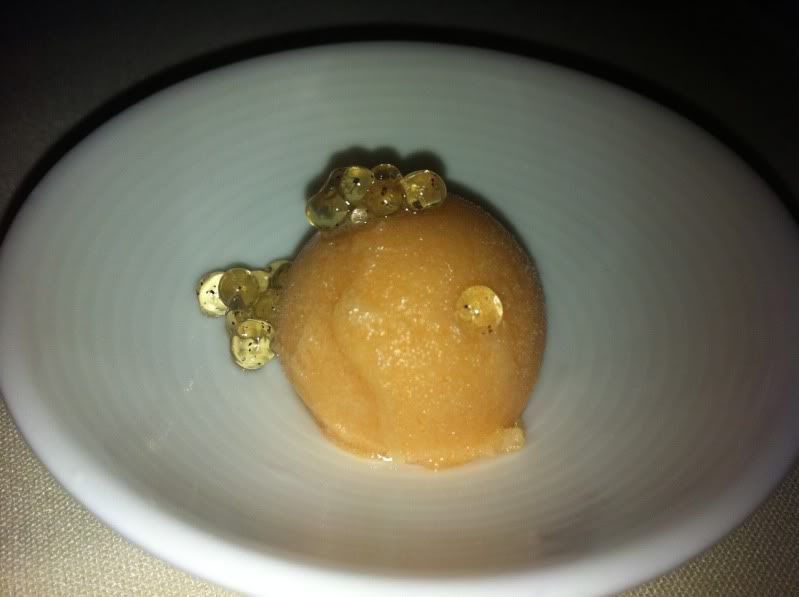
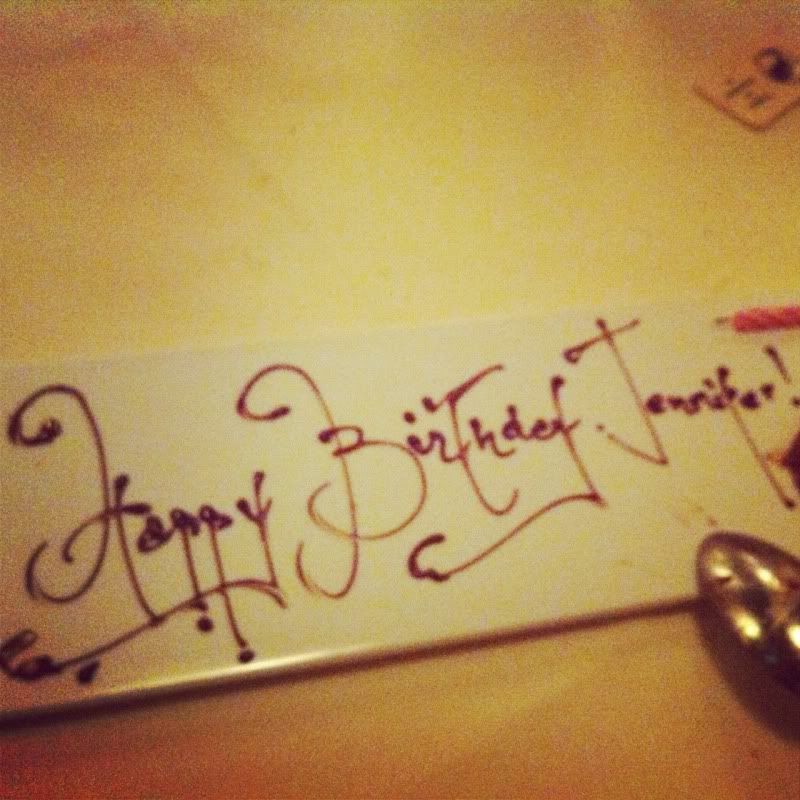
8)      And my complimentary from the chef again! I felt so special!!
Uploaded from the Photobucket iPhone App
9)      My lovely soufflé.
Uploaded from the Photobucket iPhone App
10)   And complimentary dessert from the chef
Uploaded from the Photobucket iPhone App
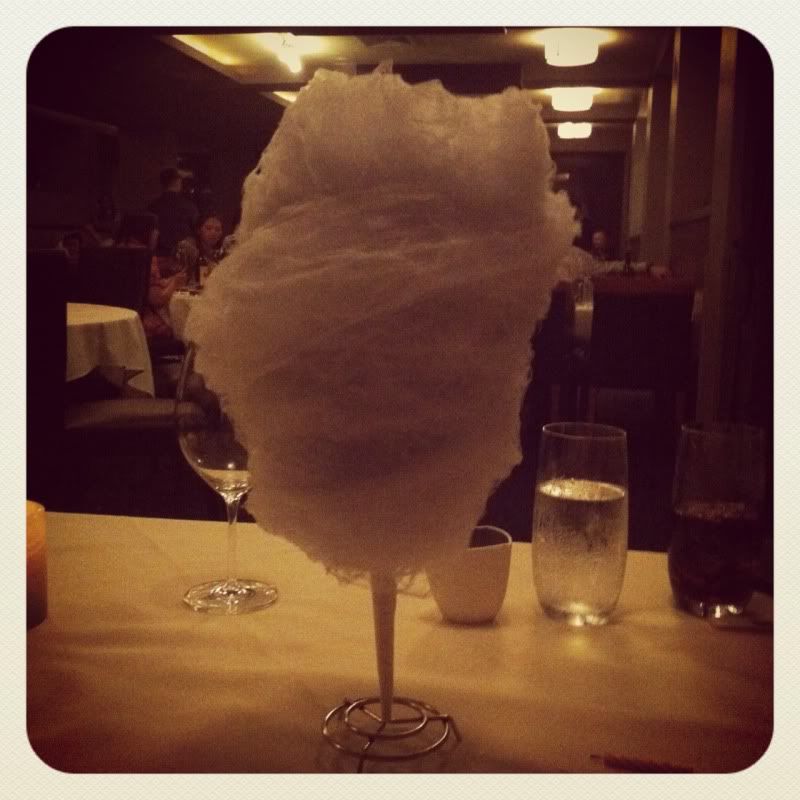
11)  Last but not least, the final complimentary, the cotton cand

Hope you guys enjoy my entry and let me know if you looking forward for more.